Dreamweaver is a WYSIWYG (What You See Is What You Get) editor for creating websites without knowing any code. It's a useful program for beginners as well as advanced professionals.
You can build nice websites with Dreamweaver, but it has limitations; in order to create professional sites with the best web design techniques, you will need to learn HTML, CSS and other coding.
In this tutorial, you'll learn how to use Dreamweaver to create the same website we created here.
Create a new folder on your desktop, name the folder firstwebsite.
#1. Create your first web page
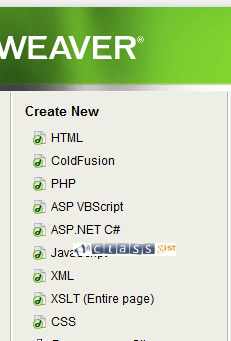
1. Open Dreamweaver, go to "Create New", click "HTML".

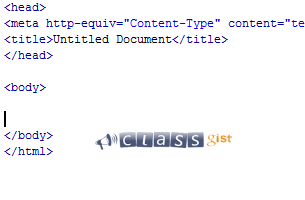
2. You can edit only the body tag (<body> </body>) of the underlying HTML markup created by Dreamweaver to look like the code below or delete the entire markup created by Dreamweaver and Insert the following code. You can copy and paste the code.

<!DOCTYPE html>
<html>
<head>
<title>Home Page</title>
</head>
<body>
<h1>Welcome to my website</h1>
<p>
My first web page.
</p>
<h2> Hello </h2>
</body>
</html>
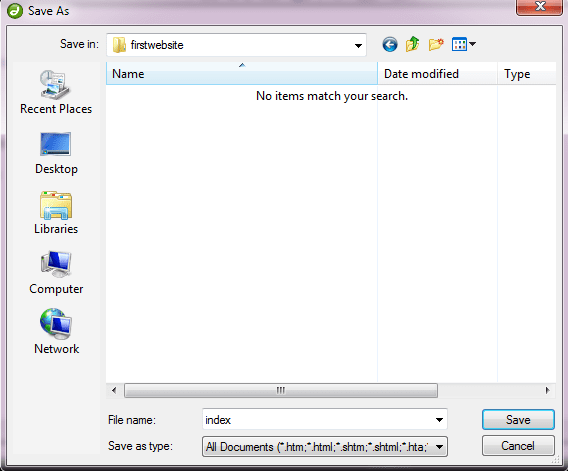
3. Save the file by clicking the "File" menu, followed by the "Save As...". In the File name text box, enter "index". On the navigation panel by the left, select desktop, look for the folder you created named firstwebsite, double-click it, click the Save button. This is going to be your homepage.

4. Now open this file with any web browser. You should see a clean white page that says Welcome to my website .
#2. Create your second web page
Create a new HTML document by click File > New. Select basic HTML , the new document window opens. You can edit only the body tag (<body> </body>) of the underlying HTML markup created by Dreamweaver to look like the code below or delete the entire markup created by Dreamweaver and Insert the following code. You can copy and paste the code.
<!DOCTYPE html>
<html>
<head>
<title>About Us</title>
</head>
<body>
<a href="index.html">Home</a>
<h1>About Our Site</h1>
<p>
We design professional looking websites
</p>
</body>
</html>
Save the file with the name "about". View the file in a web browser.
The codes above contain HTML Tags such as headings <h1>, paragraphs <p> and Anchor <a>. To learn more about HMTL tags and its functions.
Congratulations you have created your first website using Dreamweaver 8. You can also use latest version of Dreamweaver to practice this tutorial.
Next step - Learn how to style your website. Add Cascading Style sheet(CSS) to your website
To learn more about CSS, click here(Learn CSS)