In this tutorial, we will continue with our website created here Create your first website or blog using WordPress.
This section teaches how to include/upload the media files(Images, video, audio e.t.c) that you will be working with while creating this website. When creating your own website you can choose to upload all the media files at once. Or you can choose to upload it one at a time as the need arises during the course of creating the site. For this demo website, there are some files we will be working with which you can download here for use in this website. You are free to use your own images.
Download the images, logo and other files we will use to customize our website
a.Download the files here download images. Extract the downloaded file.
b. Upload contents
Go to Dashboard > Media > Add New, it will take you to the "Upload New Media" page,
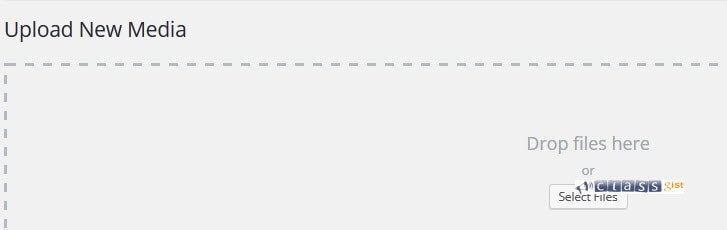
Click the "Select Files" button, navigate to the folder you extracted the Images, select all the files(Ctrl + A).

Click the "Open" button. Once the upload is successful, you will see the list of uploaded files,

You can go to Dashboard > Media > Library to see all the files uploaded.
What Is Next?
Step by Step
This tutorial is part of a series that walks you through creating your first website or blog using WordPress.
Next Step, 4. Adding home page and blog page to a WordPress website
Previous Step - 2. Change the Theme Option Settings
Start from the beginning - Create your first website or blog using WordPress