In this tutorial, we will continue with our website created here Create your first website or blog using WordPress.
if you are not logged in, type http://localhost/briltech/wp-login.php, hit the enter key, type you username and password, click the Login button.
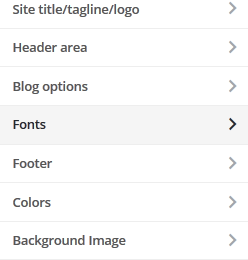
Go to Dashboard > Appearance > Customise, it will take you to the "Customise" page. On the customize page, towards the left-hand side of the page, there are several tabs for customizing settings and the website, while the right-hand side, the visual appearance of how your web page currently looks like displays there.
Scroll to "Fonts" section,

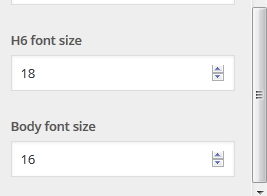
Click on it to expand it, scroll to the "body font size" section and change it from 14 to 16.

Scroll up and click the "Save & Publish" button. Click the < button to go back to the customize page.
Scroll down to the "Colors" section and click on it to expand it,

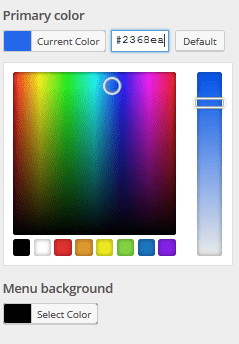
In the Primary color section, click the "Select Color" button, in the text box next to the button named default, delete the default text and paste "#2368ea" in the box,
In the "Menu background" section, click the "Select Color" button, in the text box next to the button named default, delete the default text and paste "#000000" in the box.
Scroll down to "Body text", click the "Select Color" button, choose the black option, scroll down to "Sidebar color", click the "Select Color" button, choose the black option, scroll up and click the "Save & Publish" button. Click the "<" button to go back to the customize page.
Scroll down to "Blog options". click on it to expand it.

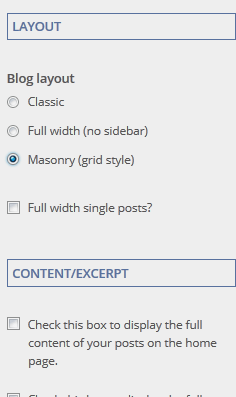
In the "LAYOUT" section, click the bullet "Masonry(grid style)", scroll down to the "CONTENT/EXCERPT" section, in the "excerpt length" textbox change the length from 55 to 20, scroll up and click the "Save & Publish" button.
Click the "<" button to go back to the customize page or click the "X" button to go back to the dashboard page.
What Is Next?
Step by Step
This tutorial is part of a series that walks you through creating your first website or blog using WordPress.
Next Step - 3. Working with the media library
Previous Step - 1. Customizing your WordPress website
Start from the beginning - Create your first website or blog using WordPress